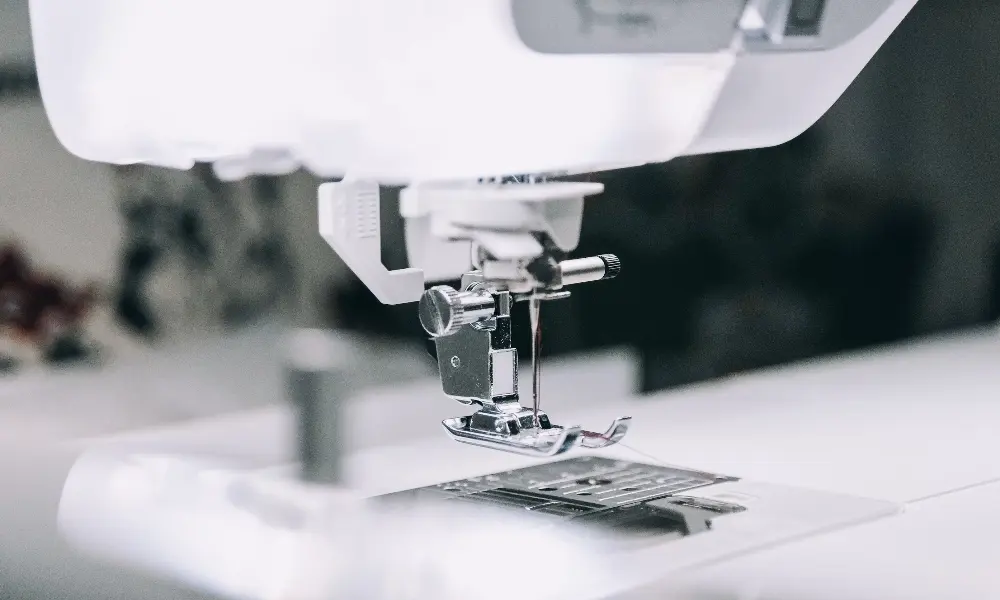
Pre-production planning is the bridge between an approved design and a repeatable cutting and sewing order. Sampling, grading, and marking are not paperwork steps; they control fit, fabric consumption, cutting accuracy, and the quality of the panels that reach the sewing floor. A weak pre-production handover creates defects that no máquina de costura can fix cleanly: mismatched notches, wrong grain direction, uneven size increments, or a marker that wastes fabric on the cutting table.
This guide explains the three core stages, the documents to control, and the points where errors become expensive.
What Pre-Production Planning Covers
A complete pre-production package should confirm the following before bulk cutting starts:
- The approved garment sample and its construction details
- The pattern set, base size, and graded size range
- Fabric type, width, shrinkage, direction, and shade grouping
- Seam and stitch specifications
- Marker plan and cut order
- Required trims, labels, fusing, and finishing methods
- Machine and attachment types needed for construction
When these items are clear, the produtoion line receives panels that match the approved sample. When they are unclear, the factory buys time with trial cuts, extra samples, and rework.
Stage 1: Sampling — From Sketch to Sewn Standard
Sampling translates the design into a physical garment that can be measured, sewn, and accepted as the production reference. The first sample rarely matches the intended fit perfectly, but it exposes the issues that must be resolved before grading and marking.
A sampling workflow normally includes:
| Sample Type | What It Confirms |
|---|---|
| Development sample | How the design works in the selected fabric |
| Fit sample | Whether the silhouette and measurements match the target body |
| Size set sample | Whether the grade works across the full size range |
| Pre-production sample | Whether the factory can build the garment in the production fabric and trim |
During sample approval, record construction details rather than relying on the sample alone. Seam types should be identified by class, stitch type by class, and stitch density by stitches per inch or per centimetre. ISO 4916 provides a seam classification system that helps factories, buyers, and inspectors refer to the same seam structure [5]. ISO 4915 similarly classifies stitch types, which reduces confusion when specifying a lockstitch, chainstitch, or overlock formation [6].
Carr and Latham describe the sample as the control point where design intent is converted into production specifications, and where construction problems are cheaper to correct than at the cutting table [1]. The approved sample becomes the standard for fabric handling, seam finish, pressing, and final measurement.
Stage 2: Grading — Building the Full Size Range
Grading expands the approved base-size pattern into all required sizes. A grade rule is a table of increments at specific control points, not a simple percentage enlargement of the whole pattern. Different points grow at different rates: chest width, shoulder slope, armhole depth, neck width, sleeve length, and body length have separate increments.
Size designation starts with a defined base size and a consistent set of body measurements. ISO 8559-1 defines the anthropometric measurement basis for size designation of clothes, which helps factories and brands align their size charts with repeatable measurement points [4]. Without this discipline, grading becomes a series of assumptions that drift as more sizes are added.
The practical checks during grading include:
- Grade every point from the base size, not from one adjacent size to the next
- Keep grade increments consistent for the same measurement across the size run
- Verify armhole and sleeve cap grades together so the sewing line is not forced to ease excess fullness
- Check neck and collar components against body growth
- Review side seams, centre lines, and horizontal balance lines after grading
Cooklin stresses that grading must preserve the proportion and balance of the approved sample; a badly graded armhole or shoulder is difficult to correct on the line and directly affects operator time and seam quality [2]. The output should be a nested set with matching notches, grain lines, punch holes, and seam lengths at all joining points.
Stage 3: Marking and Marker Planning
Marking places the graded pattern pieces onto the fabric width in a layout that respects grain direction, directional print, shading, and cutting constraints. Marker planning determines how much fabric is consumed and how efficiently the spread can be cut.
Marker efficiency is not a fixed target. It depends on fabric width, pattern shape, size ratio, marker length, and whether the fabric has nap or directional print. Glock and Kunz describe marker making as a balance between fabric utilization and the practical needs of the cutting room [3]. A very high-efficiency marker can still be a bad marker if it ignores grain direction or creates sections that are difficult to cut accurately.
Key marker checks include:
- Grain lines must be parallel to the fabric edge unless the design requires bias
- Directional fabric must place all pieces in the same direction
- Shade grouping must be controlled when fabric lots vary
- Notches and drill marks must remain visible after cutting
- The marker must suit the spread length and cutting equipment
Marker planning sits between pattern work and cutting-floor execution.
A clean marker is only part of the equation; cutting method, layer height, and machine capability determine how faithfully the marker becomes panels. <Principais diferenças entre máquinas de corte e costura para bordados> compares equipment factors that affect cutting and stitching output.
The cutting machine choice, blade type, spread height, and vacuum system all influence whether the marker can be followed precisely. For layered cutting, the marker must remain stable through the full spread, and the cutting room needs clean alignment from the top layer to the bottom.
Where Pre-Production Errors Show Up
Pre-production errors do not stay in the office. They become measurable problems on the cutting and sewing floor.
- A grading error creates misaligned seams, tight armholes, or uneven hems across sizes
- A marker error causes shaded panels, reversed print direction, or wasted fabric at the splice
- An unconfirmed seam type forces operators to guess and produces inconsistent seam allowances
- A skipped pre-production sample hides fusing or shrinkage problems until the full order is cut
The largest cost is usually not the extra fabric. It is the line downtime, re-cutting, and the operator confusion that follows an unstable pre-production package.
Equipment Considerations in Pre-Production
The pre-production package should also define what the equipment must do. If the sample requires a specific seam class, stitch density, or automatic trimming, the production line must have the right machine and attachment before layout is finalised.
Among the equipment choices affected by pre-production decisions are:
- Industrial sewing machines for the main construction seams
- Cutting machines matched to spread height and marker format
- Template sewing machines when pockets, flaps, or plackets need repeatable positioning
- Pattern sewing machines for programmed decorative or reinforcement stitching
- Fusing machines when interlining bonds need controlled heat, pressure, and dwell time
If you are validating a pre-production package and need to match the cutting, template, or sewing equipment to the approved sample, send the sample details to sales@tzpioneer.com or call +86-18069305333. The most useful inquiry includes fabric type, size run, daily output target, and the seam or operation that is causing the bottleneck.
Build the Pre-Production Handover Before the First Cut
A good handover does not need to be long, but it must be specific. The cutting and sewing teams should receive the approved sample, a complete pattern set, a graded measurement chart, the marker, the cut order, the fabric and trim details, and the machine or attachment requirements for non-standard operations.
Before releasing the order, run a short check:
- Can every pattern piece be matched to the sample and the tech pack?
- Do all joining seams have equal seam lengths after grading?
- Does the marker follow grain direction and shade rules?
- Are stitch and seam types specified by class?
- Are the approved sample and pre-production sample available at the cutting table?
This is the point where a few hours of checking prevents days of rework.
Frequently Asked Questions
What is the difference between grading and marking?
Grading changes the size of the pattern. Marking arranges the graded pattern pieces on the fabric in a cutting layout. Both happen after the sample is approved, and both must be complete before bulk cutting.
How many samples are needed before bulk production?
The number depends on garment complexity, fabric behaviour, and whether the style is new or a repeat. A new style usually requires at least a fit sample and a pre-production sample, and many factories also require a size set sample to verify the grade.
Can grading be automated?
CAD systems can automate the mathematical application of grade rules, but the grade rules themselves still need to be defined and validated. Automation speeds up the process; it does not automatically make the fit correct.
What is marker efficiency and what should a factory expect?
Marker efficiency is the percentage of usable fabric in the marker compared with total marker area. It varies by fabric width, pattern shape, size ratio, marker length, and directional restrictions. Rather than chasing one fixed percentage, the factory should compare markers under the same fabric and size conditions.
What should a pre-production handover include?
A practical handover includes the approved sample, the graded pattern set, the tech pack, seam and stitch specifications, the marker, cut order, fabric and trim details, and a list of special machines or attachments required for the order.
Referências
- Carr, H., & Latham, B. (2000). The Technology of Clothing Manufacture. 3rd ed. Blackwell Science.
- Cooklin, G. (1997). Garment Technology for Fashion Designers. Blackwell Science.
- Glock, R. E., & Kunz, G. I. (2005). Apparel Manufacturing: Sewn Product Analysis. 4th ed. Pearson/Prentice Hall.
- ISO 8559-1:2017. Size designation of clothes — Part 1: Anthropometric definitions for body measurement. International Organization for Standardization.
- ISO 4916:1991. Textiles — Seam types — Classification and terminology. International Organization for Standardization.
- ISO 4915:1991. Textiles — Stitch types — Classification and terminology. International Organization for Standardization.
Se você estiver interessado, confira estes artigos relacionados:
Unique And Ekinci Makina Reaffirm Partnership For Iraq Market
Unique Strength Debut At Jiam 2024
Unindo as mãos para o progresso capacitando o futuro A equipe técnica de Dubai conclui intercâmbio técnico e treinamento na Nicerbt
Unveiling Ceremony Of Milin Group Taizhou Center