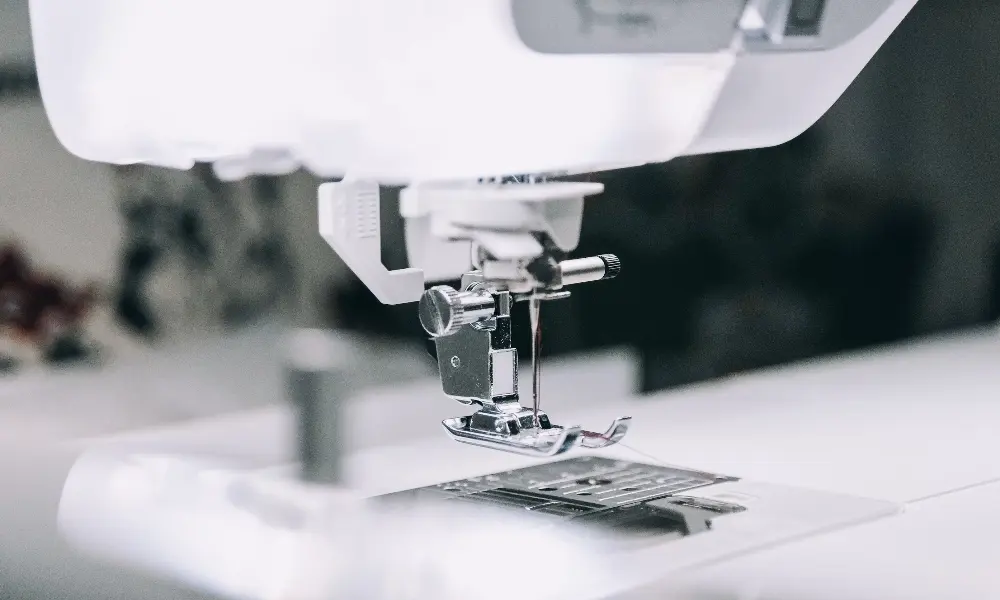
Edge folding and edge gluing are often treated as separate operations, but in leather 제품ion they work best as one system. When a leather edge is folded, glued, and only then stitched, the result is a cleaner seam line, less operator rework, and fewer alignment failures at the machine. The goal is not simply to stick the material down; it is to turn a unstable, springy leather edge into a controlled surface that the needle can follow consistently.
Why Fold, Glue and Prepare Edges Before Stitching
The main reason is control. Leather, split leather and many coated synthetics have memory. An unglued folded edge springs back, shifts under the feed, and changes the seam allowance between the first piece and the last. That variation is visible in topstitching, edge distance and finished dimensions.
A second reason is mechanical stability during stitching. The fixed fold becomes the reference edge for operation. Most leather edge seams are closed with a lockstitch, ISO 4915 class 301 [1], so the glued fold must hold the exact seam allowance while the needle penetrates multiple layers. The seam type you plan to produce under ISO 4916 [2] then determines how much allowance to fold and how much material to bond.
Preparation determines whether the adhesive works as intended. Skiving the fold line reduces bulk and prevents a hard ridge after folding. For split leather, PU leather and coated textiles, surface condition matters more than many factories expect. Dust, oil, release agents and finishing waxes can sit on the surface and reduce bond strength. A hidden-area test will show whether the selected cleaner or primer helps adhesion without changing the face or back appearance.
On thick leather, light mechanical roughening of the hidden bond area can improve mechanical key, but only where the marked face side is protected. On soft or stretchy leather, do not over-skive; the fold line must remain strong enough to survive the folding operation without tearing.
Adhesive Selection and Application
Leather edge work uses two broad bonding methods. In dry-bond contact bonding, both surfaces are coated, allowed to develop tack, and then pressed together. In wet bonding, one surface is coated and the fold is made while the film is still open. Edge folding usually favours dry-bond contact adhesives because they offer immediate holding power after pressing, but the correct choice depends on substrate, production speed and whether the bond must remain flexible after stitching.
| Adhesive group | Bond method | Typical use | Handling note |
|---|---|---|---|
| Solvent-based contact cement | Dry bond | Heavy leather, high-strength edges, heat-exposed parts | Requires safe handling under hazard communication rules [3] and local exhaust ventilation [4] |
| Water-based polyurethane dispersion | Dry bond | Enclosed production, lower-odour environments, flexible edges | Longer open time; follow the supplier’s drying profile |
| Heat-activated film or web | Heat and pressure | Uniform panels, controlled bond line, no squeeze-out | Suitable where consistent thickness can be maintained |
| Temporary pressure-sensitive adhesive | Pressure | Repositioning, pre-folding, trial assembly | Not usually the final structural bond |
For folded edges, use an applicator tip, narrow nozzle or guide so the film stops just before the final fold edge. Overspreading causes adhesive squeeze-out, which then becomes visible on the grain side or fouls the needle. Apply a thin, even film, wait for the specified tack, align the fold, and press firmly. Open time, pressure, temperature and bonding time vary by grade; these must come from the supplier datasheet rather than a general guess.
A useful factory rule is to treat adhesive as a process material, not an afterthought. Record the batch, open time and press method used for each trial so that a later edge failure can be traced back to the bond line instead of the sewing machine.
Folding Methods and Tooling
Manual folding with a bone folder or heated creaser is still the most flexible method for short runs and curved profiles. It allows the operator to follow the grain, ease stretch and correct alignment before the adhesive grabs. For larger runs, edge-folding guides, folder 부착s and creasing tools make the fold repeatable and reduce dependence on hand skill.
Curved profiles, gussets, bag mouths and footwear components rarely fold well on a flat table. That is where machine selection becomes important. A cylinder bed lockstitch sewing machine places the work over a narrow arm, which helps when turning a folded edge through a curve. A postbed lockstitch sewing machine often works better for three-dimensional leather parts such as shoe uppers, caps and bag corners, where the operator needs access around a raised bed and the stitch line must follow a shaped edge.
For mixed leather-goods production, shoes bag making machine configurations can be planned around the same edge-folding principle: the machine must support the shape of the part while the glued edge remains flat against the feed.
Machine Setup for Stitching Glued Edges
A glued edge changes the way the machine feeds. The bond line creates local stiffness, and if the fabric layers are not exactly aligned, the operator feels it as feed drag or lateral movement. Positive feed or walking-foot action helps the top and bottom plies move together, especially on smooth leather.
Needle selection should match the leather type and coating. A leather point that cuts cleanly reduces insertion resistance and prevents the needle from carrying adhesive residue into the bobbin area. Thread should slide through the bonded layers without opening the seam; a thread that is too thick relative to the needle will transfer force back into the fold and can cause the seam to look wavy.
Stitch length is set by seam strength and appearance, not by the adhesive. A moderate stitch length usually balances the number of perforations against the risk of weakening the leather along the stitch line. Operator training should include removing adhesive build-up from the needle, presser foot and needle plate at regular intervals.
Need help matching the edge operation to the right machine? Write to sales@tzpioneer.com with the leather type, edge thickness, number of edges per piece, current machines and target output. A practical machine recommendation should cover the whole operation, not the fold alone.
Common Defects and the Pre-Stitching Quality Gate
Most edge-folding failures appear before stitching, but they are not always caught until after the final seam. A short pre-stitching check is cheaper than unloading a finished batch.
| Defect | Likely cause | Correction |
|---|---|---|
| Fold lifts or opens | Insufficient adhesive film, wrong tack timing, too little pressure | Adjust coat weight, wait for tack, increase pressing on scrap pieces |
| Adhesive squeeze-out | Over-application near the fold edge | Reduce film width, use a fine applicator tip |
| Needle gumming or skipped stitches | Residue transferred from tacky adhesive | Re-check dry time, clean needle and plate, select a drier film |
| Hard or brittle edge | Rigid adhesive grade or excessive film thickness | Choose a flexible leather adhesive and reduce thickness |
| Delamination after stitching | Poor surface preparation or incompatible substrate | Clean properly, test cleaner on hidden area, revalidate the adhesive |
The pre-stitching quality gate should confirm five points. First, the folded allowance matches the seam type required by the product specification [2]. Second, a hand-peel test on a scrap edge shows cohesive failure rather than the adhesive peeling cleanly away from the leather. Third, the bond line stays closed after a short rest period. Fourth, the fold width is parallel to the edge. Fifth, the first stitched sample is checked on both the grain side and the back side for skipped stitches, needle marks or edge distortion.
Once folding, gluing and stitching are stable, the next step is to balance the surrounding line. <원스톱 재봉 장비 조달 플랫폼> covers how to build a complete production setup around the core machines.
Need Help Specifying Leather Edge Equipment?
Taizhou Unique Machine Technology Co., Ltd. (UNIQUE) works with leather goods, footwear and upholstery manufacturers to specify folding, gluing and stitching setups that fit the product rather than forcing the product to fit a standard machine list. Contact William at +86-18069305333 or sales@tzpioneer.com with your edge thickness, batch size, adhesive type and current equipment, and we will put together a practical recommendation.
자주 묻는 질문
Do I always need to glue leather edges before stitching?
No. Gluing is most useful for folded, wrapped or turned edges, multi-layer seams and curved profiles that need to stay aligned under the feed. Straight open seams or temporary basting operations may not require adhesive. The seam type under ISO 4916 [2] should guide the decision.
Which adhesive works best for folded leather edges?
There is no single best adhesive for every leather. Solvent-based contact cement, water-based polyurethane dispersion and heat-activated film each have different open times, flexibility and handling requirements. The correct choice depends on the substrate, production conditions and whether the bond must remain soft after stitching. Always validate on the actual leather batch.
Can a standard flatbed lockstitch machine handle folded glued edges?
For light flat panels, it may work. For bags, shoe uppers, curved profiles and three-dimensional parts, a cylinder bed or postbed machine is usually more practical because the glued edge must be supported while the part rotates. The folded edge also increases local thickness, so feed type and presser foot clearance matter.
How do I stop glue from gumming up the needle?
Wait for the adhesive to reach the correct tack before stitching, avoid over-application near the fold edge, and clean the needle, presser foot and needle plate at regular intervals. Using an adhesive grade that dries into a flexible film rather than a permanently tacky surface also helps.
Does gluing replace stitching?
No. Adhesive holds the fold during alignment and stitching, but the stitched seam remains the primary permanent assembly in most leather products. Edge gluing and stitching are complementary operations, not substitutes.
참고자료
[1] ISO 4915:1991, Textiles — Stitch types — Classification and terminology.
[2] ISO 4916:1991, Textiles — Seam types — Classification and terminology.
[3] Occupational Safety and Health Administration. 29 CFR 1910.1200, Hazard Communication Standard.
[4] Occupational Safety and Health Administration. 29 CFR 1910.94, Ventilation.
관심이 있다면 다음 관련 기사를 확인하세요.
밀린그룹 타이저우 센터 타이저우 공급업체 감사 만찬
기술이 패션에 힘을 실어 Nicerbt Unique가 Hm 공급업체 기술 서밋에 참석하여 의류 공급망의 지능적 업그레이드를 강화
원스톱 재봉 장비 조달 플랫폼